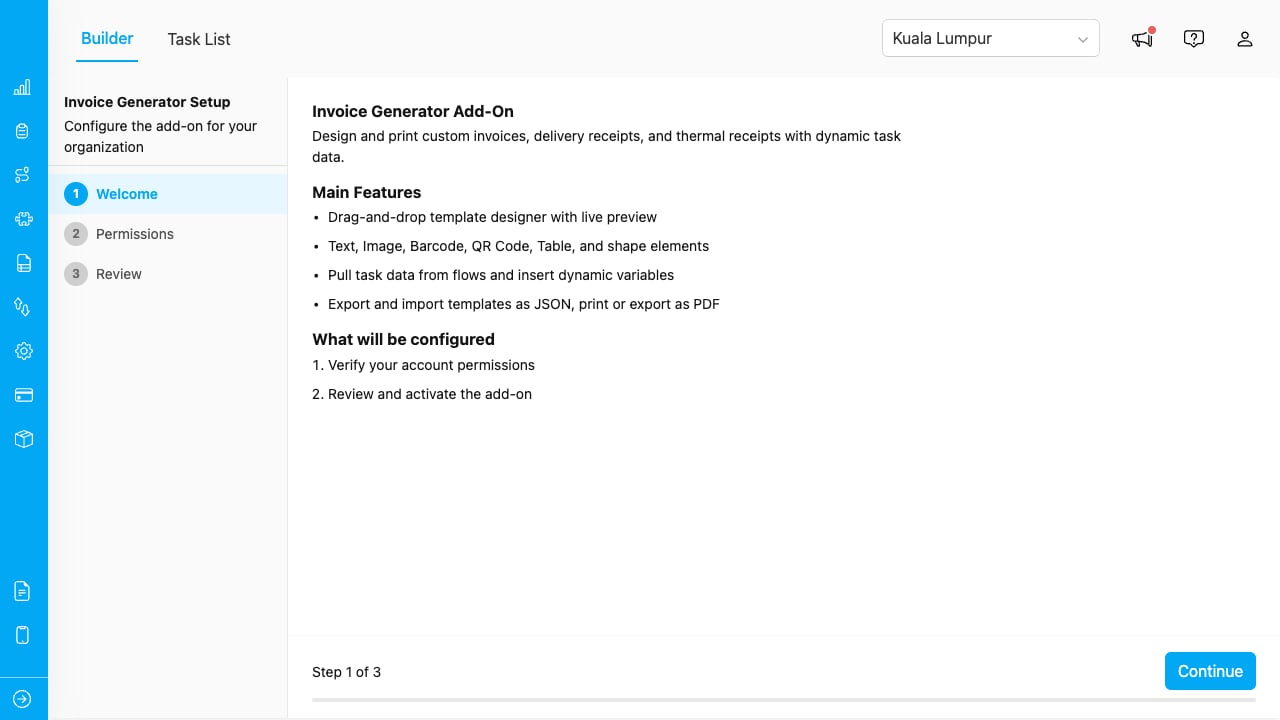
The Setup Wizard opens automatically on first access, showing 3 steps: Welcome, Permissions, and Review.
## Step 1: Welcome The welcome screen explains the main features of Invoice Generator: * Drag-and-drop template designer with live preview * Text, Image, Barcode, QR Code, Table, and shape elements * Pull task data from flows and insert dynamic variables * Export and import templates as JSON, print or export as PDF It also describes what will be configured: * Verify your account permissions * Review and activate the add-on * Create page-level access permissions (Builder, Task List) Click **Continue** to proceed. ## Step 2: Verify Permissions The wizard checks that your account has the required platform permissions.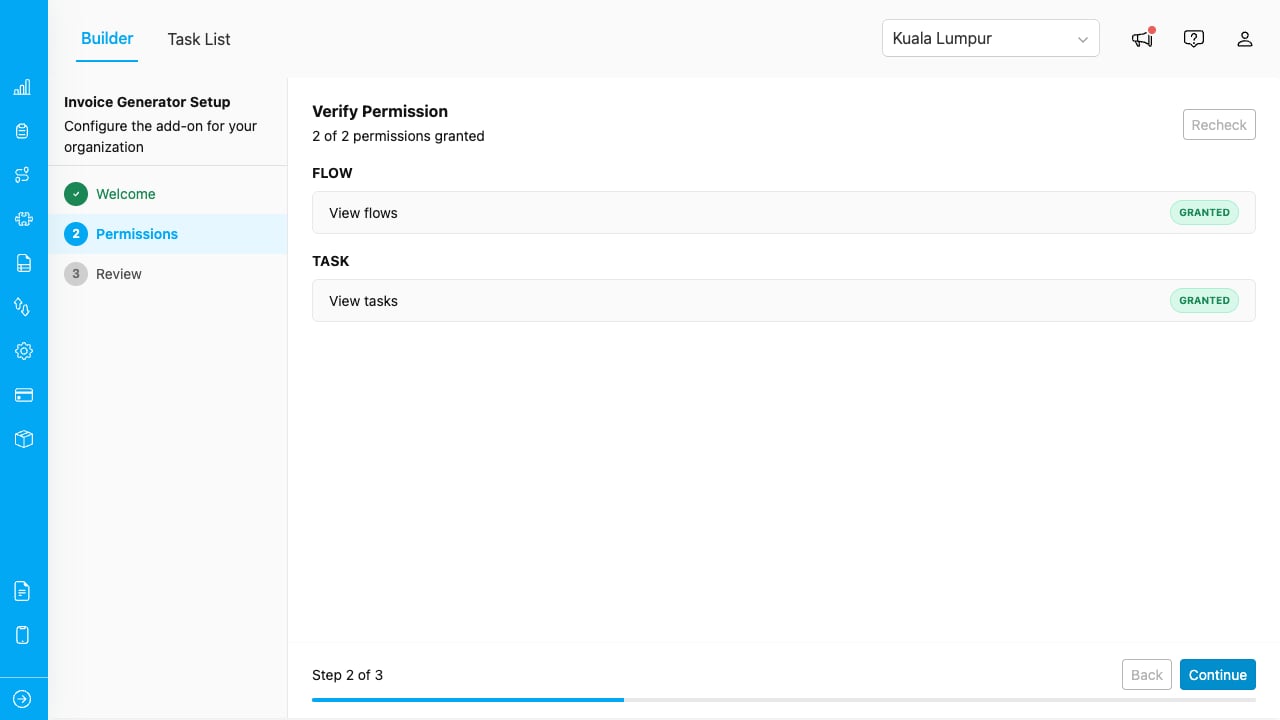
The Permissions step shows a checklist. All items must be granted before you can continue.
| Category | Permission | | - | - | | **Flow** | View flows | | **Task** | View tasks | If any permission is missing, contact your administrator to update your role in the Permission page. Click **Recheck** after permissions are updated. Click **Continue** to proceed. ## Step 3: Review and Activate The Review step shows a summary of all configurations. Verify everything looks correct.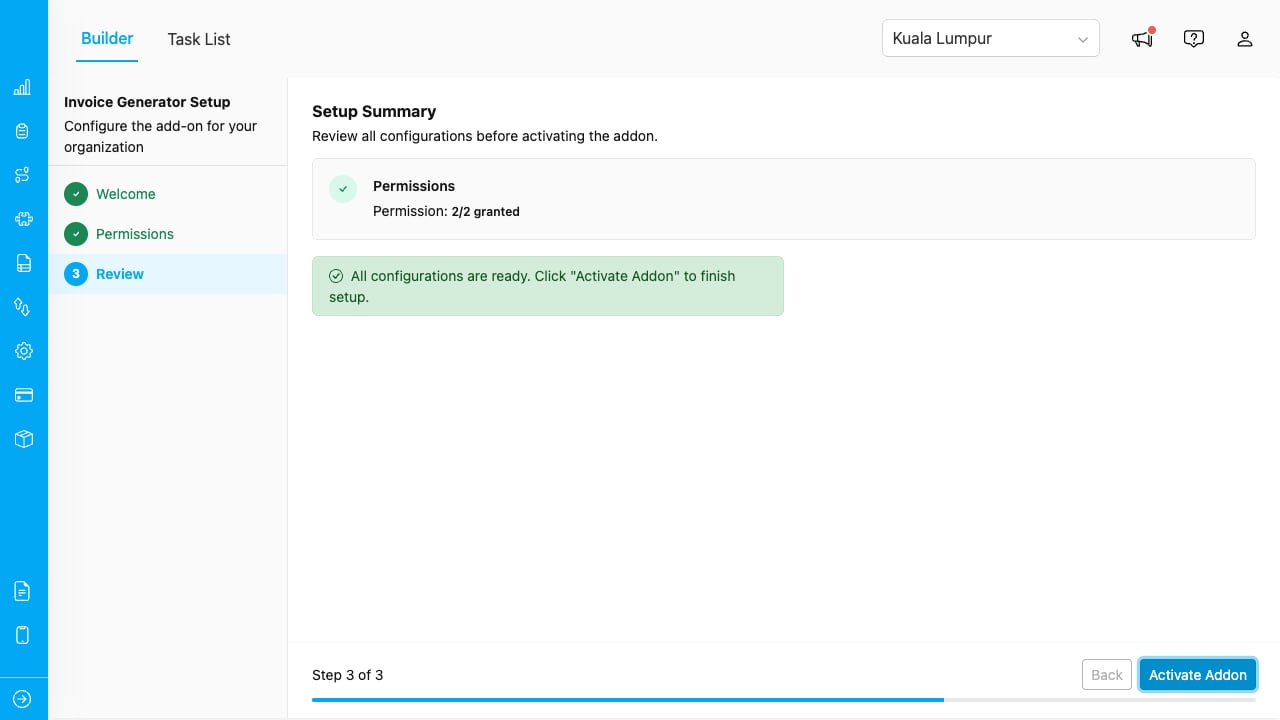
The Review step confirms all permissions are granted and the add-on is ready to activate.
Click **Activate Addon** to finish setup. The Builder page loads immediately. ## Page-Level Permissions After setup, the wizard creates two custom permissions for your organization: | Permission | Controls access to | | - | - | | **View Builder** | The template designer page | | **View Task List** | The task list and printing page | These permissions are automatically granted to the user who completes the wizard. To give other users access, go to **Settings > Permission** and enable these permissions under the add-on's section.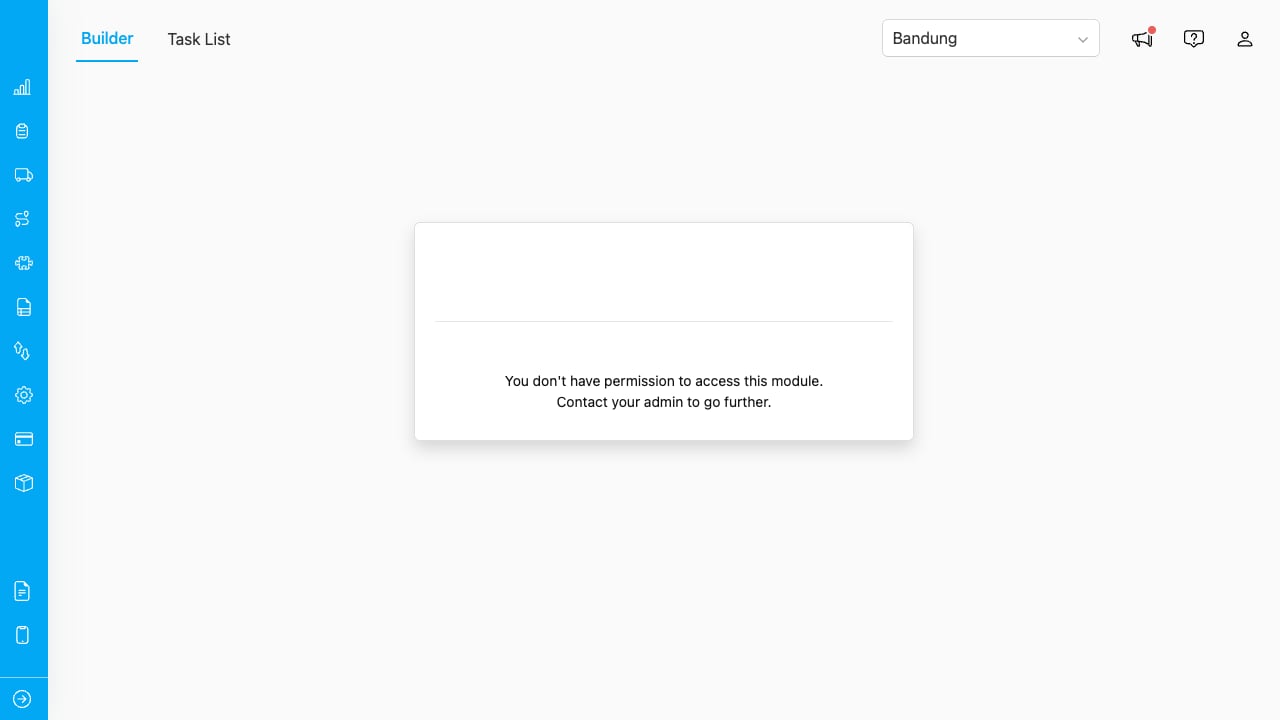
Users without the required permission see the standard access denied page.
## Deleting Configuration To reset the add-on and start over: 1. Click the **gear icon (⚙)** in the Builder toolbar. 2. Select **Delete Configuration**. 3. Confirm the action in the popup dialog. This resets the add-on configuration but does **not** delete your saved templates or the custom permissions. Templates remain in the library and can be reused after re-running the wizard.